1. - 데이터를 충전 또는 선물할 때 청구서, 신용카드, 소액결제, 계좌이체, 도서 및 문화상품권 중 원하는 방법을 골라 결제할 수 있습니다.
2. - 속도 용량 걱정 없는 데이터 요금제 이용 고객은 매월 최대 40GB까지 가족에게 넉넉히 선물할 수 있습니다.
3. - 오직 U+에서만! 설정 한번으로 매월 결합된 가족에게 최대 2GB의 데이터를 자동으로 나눠줄 수 있습니다.
4. - 첫 화면에서 ‘조르기‘ 버튼만 누르면 결합된 가족에게 데이터를 요청할 수 있습니다.
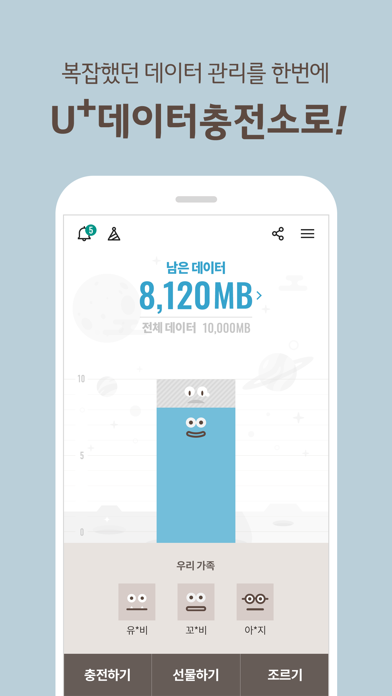
5. - 기본데이터, 데이터2배쿠폰, 가족사랑데이터 등 어떤 데이터를 얼마나 사용했는지 구체적으로 알 수 있습니다.
6. * 청구서 결제는 데이터를 충전할 때만 이용 할 수 있습니다.
7. - 데이터2배쿠폰, 데이터상품권 구매 및 등록 등 내가 이용할 수 있는 충전 방법을 골라 보여줍니다.
8. * 데이터2배쿠폰은 U+모바일을 2년 넘게 이용한 장기 고객님을 위한 무료 데이터 충전 쿠폰입니다.
9. - 최근 4개월간의 데이터 사용량을 그래프로 한 눈에 비교할 수 있습니다.
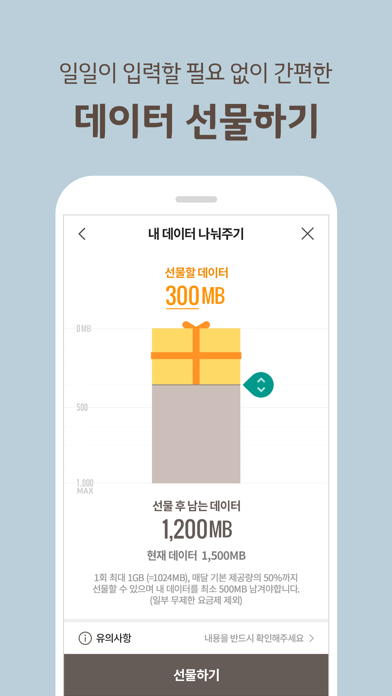
10. - 받는 사람의 번호를 주소록에서 불러오기 때문에 번호를 일일이 입력할 필요가 없습니다.
11. U+데이터충전소는 U+LTE 가입 고객에게 제공되는 서비스입니다.
12. Liked U+데이터충전소? here are 5 Utilities apps like UU Game Booster - Lower Lag; Medusa Browser + VPN; Church Authenticator; Quantumult X;
Hurray! Seems an app like u 데이터충전소 is available for Windows! Download below:
SN |
App |
Download |
Review |
Maker |
1 |
UBIK
|
Download |
/5
0 Reviews
|
Augmensys GmbH |
2 |
Uber
|
Download |
2.6/5
1,127 Reviews
2.6
|
Uber Technologies Inc. |
3 |
Ubuntu
|
Download |
4.5/5
263 Reviews
4.5
|
Canonical Group Limited |
Not satisfied? Check for compatible PC Apps or Alternatives
Or follow the guide below to use on PC:
Select Windows version:
- Windows 7-10
- Windows 11
Download and install the U+데이터충전소 app on your Windows 10,8,7 or Mac in 4 simple steps below:
- Download an Android emulator for PC and Mac:
Get either Bluestacks or the Nox App >> . We recommend Bluestacks because you can easily find solutions online if you run into problems while using it. Download Bluestacks Pc or Mac software Here >> .
- Install the emulator on your PC or Mac:
On your computer, goto the Downloads folder » click to install Bluestacks.exe or Nox.exe » Accept the License Agreements » Follow the on-screen prompts to complete installation.
- Using U+데이터충전소 on PC [Windows 7/ 8/8.1/ 10/ 11]:
- Open the Emulator app you installed » goto its search bar and search "U+데이터충전소"
- The search will reveal the U+데이터충전소 app icon. Open, then click "Install".
- Once U+데이터충전소 is downloaded inside the emulator, locate/click the "All apps" icon to access a page containing all your installed applications including U+데이터충전소.
- Now enjoy U+데이터충전소 on PC.
- Using U+데이터충전소 on Mac OS:
Install U+데이터충전소 on your Mac using the same steps for Windows OS above.
To get U+데이터충전소 on Windows 11, check if there's a native U+데이터충전소 Windows app here » ». If none, follow the steps below:
- Download the Amazon-Appstore » (U.S only)
- Click on "Get" to begin installation. It also automatically installs Windows Subsystem for Android.
- After installation, Goto Windows Start Menu or Apps list » Open the Amazon Appstore » Login (with Amazon account)
- For non-U.S users, Download the OpenPC software »
- Upon installation, open OpenPC app » goto Playstore on PC » click Configure_Download. This will auto-download Google Play Store on your Windows 11.
- Installing U+데이터충전소:
- Login to your computer's PlayStore or Amazon AppStore.
- Search for "U+데이터충전소" » Click "Install" to install U+데이터충전소
- U+데이터충전소 will now be available on your windows start-menu.
Minimum requirements |
Recommended |
- 8GB RAM
- SSD Storage
- Processor: Intel Core i3, AMD Ryzen 3000
- Architecture: x64 or ARM64
|
|
U+데이터충전소 On iTunes
Download |
Developer |
Rating |
Score |
Current version |
Adult Ranking |
Free On iTunes |
LG Uplus |
3 |
1 |
1.2.3 |
4+ |