Last Updated by Florian Schimanke on 2025-05-31

1. Generally all iOS devices rank available WiFi networks alphabetically and connect to the topmost known network in that list first.
2. Afterwards your preferred available network will always connect first and you will still be able to use the other networks by just tapping on them in your network list.
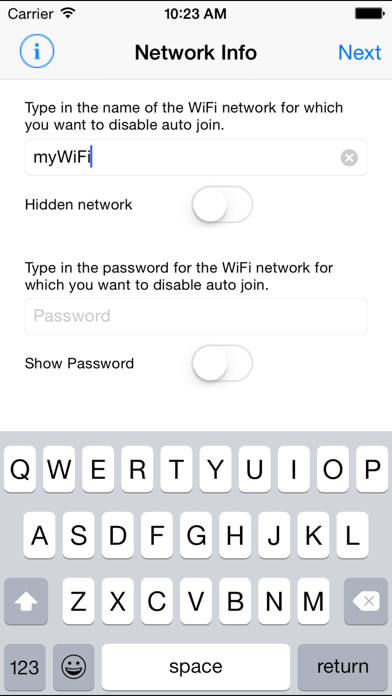
3. Just enter the network information for the networks you don’t want to auto-connect and let “WiFi Priority“ do the rest.
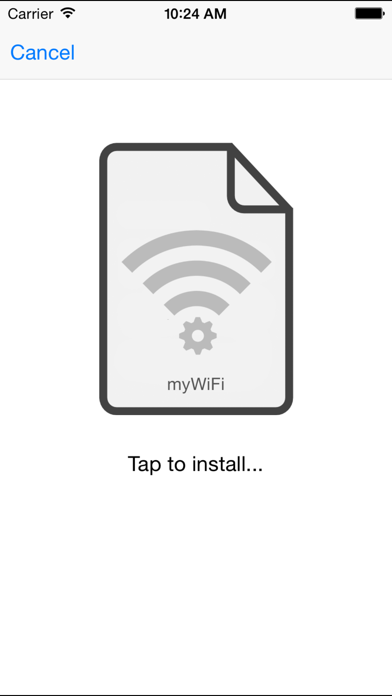
4. It simply lets you disable the auto-join function for selected networks and thus prioritize the one that you prefer by creating and installing a configuration profile on the device.
5. However, there are situations in which you may want to avoid that and prefer to connect to another known network instead.
6. Instead of making your device forget the topmost networks you can now prevent them from automatically connecting first.
7. NOTE: WiFi Priority does currently not work with enterprise encryption.
8. This is where “WiFi Priority“ comes to your aid.
9. Supported encryptions are WEP, WPA-Personal and WPA2-Personal.
10. If you like this app, please consider leaving a review on the app store.
11. This can also be done by using the link on the info-screen within the app.
12. Liked WiFi Priority? here are 5 Utilities apps like NETGEAR Nighthawk - WiFi App; NETGEAR Orbi - WiFi System App; Xfinity WiFi Hotspots; Speed Test & Wifi Analyzer +; SPEED TEST MASTER: Wifi Tester;
Or follow the guide below to use on PC:
Select Windows version:
Install WiFi Priority app on your Windows in 4 steps below:
Download a Compatible APK for PC
| Download | Developer | Rating | Current version |
|---|---|---|---|
| Get APK for PC → | Florian Schimanke | 2.06 | 1.5 |
Get WiFi Priority on Apple macOS
| Download | Developer | Reviews | Rating |
|---|---|---|---|
| Get $0.99 on Mac | Florian Schimanke | 31 | 2.06 |
Download on Android: Download Android
This is the way apps should work
Does exactly what it says
App does not do as title suggests
Now works again
 PC Apps