Last Updated by Zoho Corporation on 2025-06-17


1. The uploaded receipts will be auto-scanned and expenses will be created automatically in Zoho Expense.
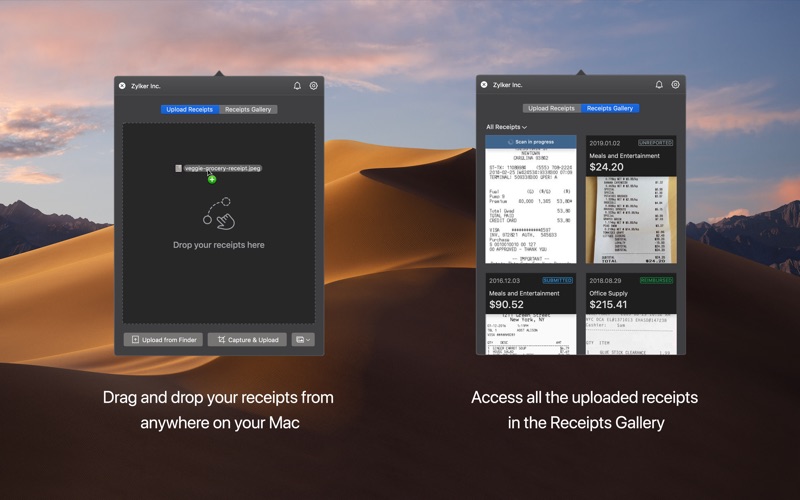
2. Upload receipts from anywhere directly into your Zoho Expense account.
3. • Right-click any receipt in your Finder and choose Upload to Zoho Expense.
4. Create an expense report with these expenses in the web app or the mobile app and send it for approval with just a few clicks.
5. • Capture any part of the screen and upload using the clipping tool.
6. • Drag and drop receipts in the app from your mac.
7. Liked Receipt Inbox? here are 5 Business apps like Shopify Inbox; BombBomb Inbox; Say&Go Voice Notes and Inbox; Safe Mail for Gmail : secure and easy email mobile app with Touch ID to access multiple Gmail and Google Apps inbox accounts; Safe Mail for Gmail Free : secure and easy email mobile app with Touch ID to access multiple Gmail and Google Apps inbox accounts;
Or follow the guide below to use on PC:
Select Windows version:
Install Receipt Inbox for Zoho Expense app on your Windows in 4 steps below:
Download a Compatible APK for PC
| Download | Developer | Rating | Current version |
|---|---|---|---|
| Get APK for PC → | Zoho Corporation | 1 | 1.3 |
Get Receipt Inbox on Apple macOS
| Download | Developer | Reviews | Rating |
|---|---|---|---|
| Get Free on Mac | Zoho Corporation | 0 | 1 |
Download on Android: Download Android
 PC Apps