投稿者 Dataman
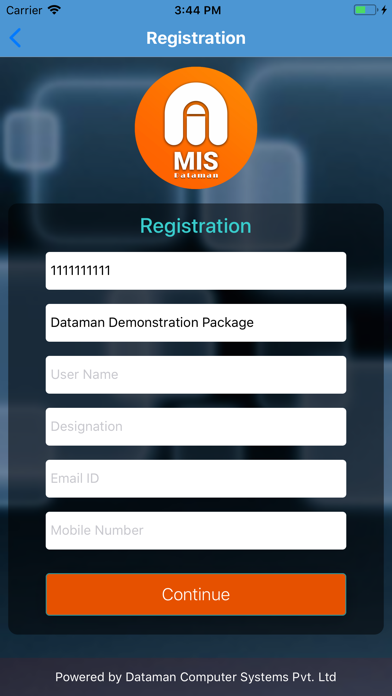
1. After the Login is made the screen which appears to be in front is the registration page, here to be make a user as a registered user the user will be needed to provide the Serial Key, Site Code, Name, Email, Phone number & then will click on the Sign In button.
2. In the details page there is also a refresh option available present on the top right of the screen by clicking on which the user will be able to view the latest updated information.
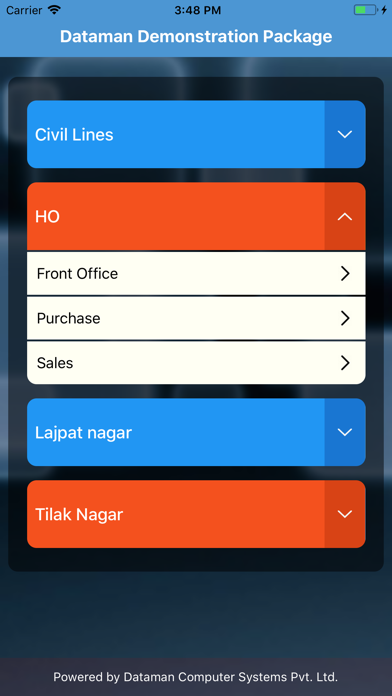
3. Once the registration is made the Dashboard screen appears on the top of which the company name will be displayed & this page will show the branches related to that company.
4. On the Dashboard screen itself the branches are displayed by clicking on any of them the department of respective branch will be shown.
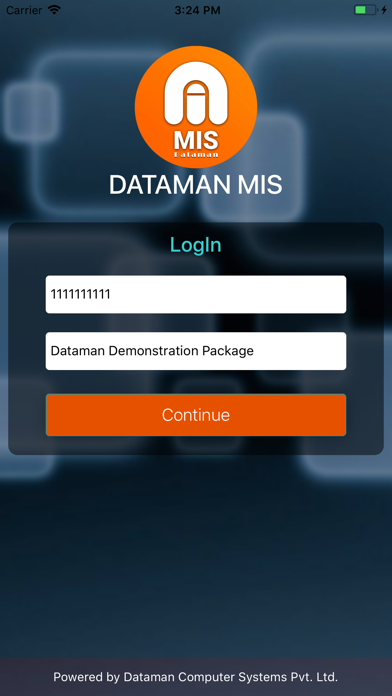
5. The first & foremost will be the Login screen, where the user will be required to enter the credentials like “Serial key & Site Code”.
6. To view the details of any department click on the respective department i.e. to view the details of the sales department click on the sales department icon.
7. Only on providing the above credentials the user will be forwarded to the Registration Page.
8. There is no restriction on the limit of branches the company have it will display all of them.
9. Here the details that will be shown as like net cash, net payment & many more.

または、以下のガイドに従ってPCで使用します :
PCのバージョンを選択してください:
ソフトウェアのインストール要件:
直接ダウンロードできます。以下からダウンロード:
これで、インストールしたエミュレータアプリケーションを開き、検索バーを探します。 一度それを見つけたら、 Dataman MIS を検索バーに入力し、[検索]を押します。 クリック Dataman MISアプリケーションアイコン。 のウィンドウ。 Dataman MIS - Playストアまたはアプリストアのエミュレータアプリケーションにストアが表示されます。 Installボタンを押して、iPhoneまたはAndroidデバイスのように、アプリケーションのダウンロードが開始されます。 今私達はすべて終わった。
「すべてのアプリ」というアイコンが表示されます。
をクリックすると、インストールされているすべてのアプリケーションを含むページが表示されます。
あなたは アイコン。 それをクリックし、アプリケーションの使用を開始します。
ダウンロード Dataman MIS Mac OSの場合 (Apple)
| ダウンロード | 開発者 | レビュー | 評価 |
|---|---|---|---|
| Free Mac OSの場合 | Dataman | 0 | 1 |
 PcMac 日本語