
에 의해 게시 Playr Inc
1. Last, click the translate button, and watch your Xcode project magically gain all the new strings in every language.
2. If you would like to add some new strings to your existing translations, all you need to do is select your Xcode project folder, and that folder should already contain some .lproj folders.
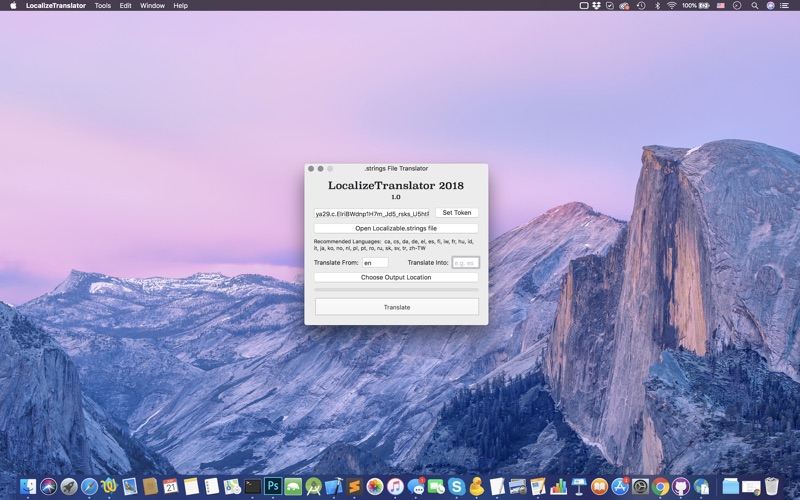
3. From the main window of LocalizeTranslator, you can take a Localizable.strings file that is in your language, and you can open it in LocalizeTranslator and convert it into any language.
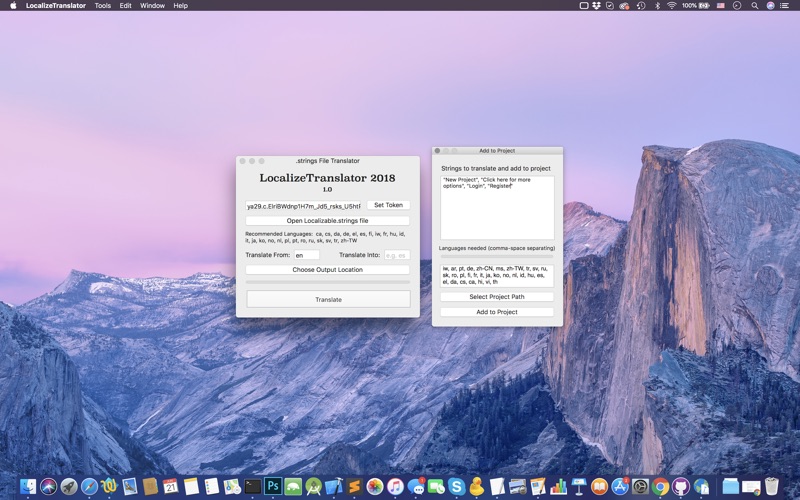
4. First, select the “Localize and Add Strings to Project” from the Tools menu.
5. These files can then be dropped right into the Xcode lproj folders (appropriately named), or copied/pasted into the open files in Xcode.
6. Next, put in the language codes of the languages you would like to add the strings in.
7. After that, copy and paste your strings into the strings to translate text view.
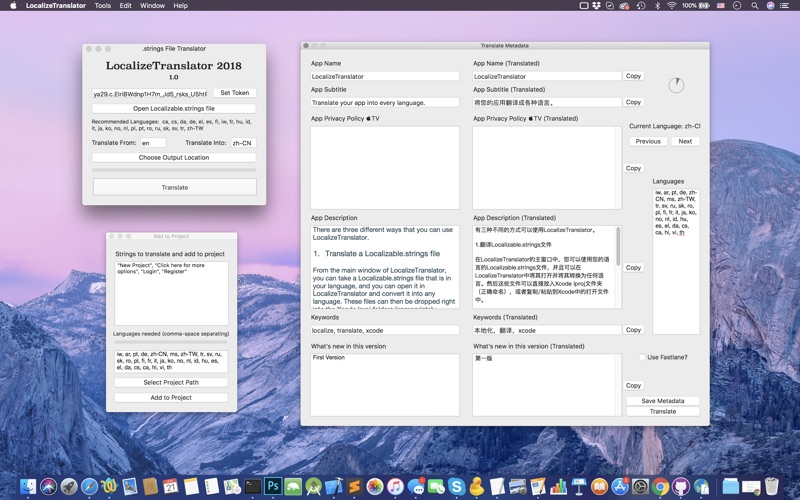
8. Select the “Localize Metadata” option from the Tools menu.
9. LocalizeTranslator Supports All API-supported Languages.
10. There are three different ways that you can use LocalizeTranslator.
11. Once it is entered, you can click “Save Metadata” so it is there on next app use.
또는 아래 가이드를 따라 PC에서 사용하십시오. :
PC 버전 선택:
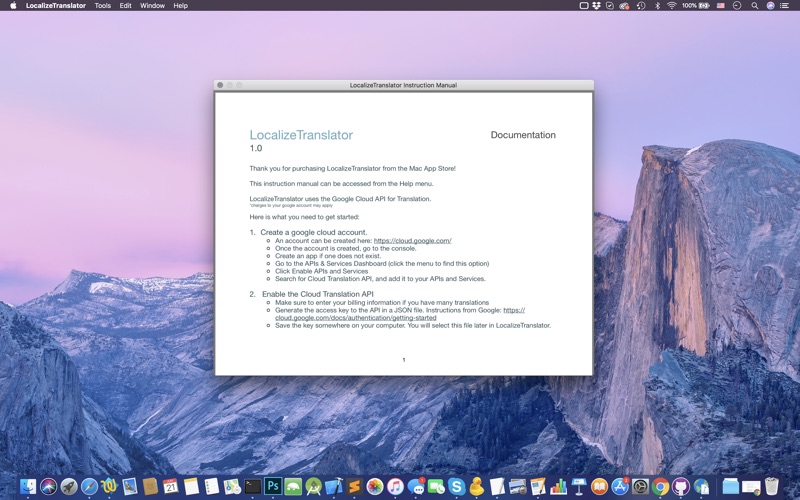
소프트웨어 설치 요구 사항:
직접 다운로드 가능합니다. 아래 다운로드 :
설치 한 에뮬레이터 애플리케이션을 열고 검색 창을 찾으십시오. 일단 찾았 으면 LocalizeTranslator 2018 검색 막대에서 검색을 누릅니다. 클릭 LocalizeTranslator 2018응용 프로그램 아이콘. 의 창 LocalizeTranslator 2018 Play 스토어 또는 앱 스토어의 스토어가 열리면 에뮬레이터 애플리케이션에 스토어가 표시됩니다. Install 버튼을 누르면 iPhone 또는 Android 기기 에서처럼 애플리케이션이 다운로드되기 시작합니다. 이제 우리는 모두 끝났습니다.
"모든 앱 "아이콘이 표시됩니다.
클릭하면 설치된 모든 응용 프로그램이 포함 된 페이지로 이동합니다.
당신은 아이콘을 클릭하십시오. 그것을 클릭하고 응용 프로그램 사용을 시작하십시오.
다운로드 LocalizeTranslator 2018 Mac OS의 경우 (Apple)
| 다운로드 | 개발자 | 리뷰 | 평점 |
|---|---|---|---|
| $9.99 Mac OS의 경우 | Playr Inc | 0 | 1 |
LocalizeTranslator is an app for taking Localizable.strings files and translating them instantly into any language in the correct format for use directly within Xcode! Cut localization costs dramatically, and clearly present your app to the world market! LocalizeTranslator Supports All API-supported Languages. There are three different ways that you can use LocalizeTranslator. 1. Translate a Localizable.strings file From the main window of LocalizeTranslator, you can take a Localizable.strings file that is in your language, and you can open it in LocalizeTranslator and convert it into any language. These files can then be dropped right into the Xcode lproj folders (appropriately named), or copied/pasted into the open files in Xcode. 2. Add New Strings to your existing localizations all at once in all languages First, select the “Localize and Add Strings to Project” from the Tools menu. If you would like to add some new strings to your existing translations, all you need to do is select your Xcode project folder, and that folder should already contain some .lproj folders. Next, put in the language codes of the languages you would like to add the strings in. After that, copy and paste your strings into the strings to translate text view. Last, click the translate button, and watch your Xcode project magically gain all the new strings in every language. 3. Localize App Store Metadata Select the “Localize Metadata” option from the Tools menu. From here, you can enter in all of the metadata from your app. Once it is entered, you can click “Save Metadata” so it is there on next app use. There are two main ways to localize your metadata: copying and pasting manually into App Store Connect, or you can use the Fastlane option. LocalizeTranslator uses the Google Translate API *costs per character

Scriptable

a-Shell mini

GitHub

App Store Connect

Python3IDE

Stream

Apple Developer

Termius - SSH client

Koder Code Editor

Pyto - Python 3

Bluetooth Terminal
Working Copy - Git client

API Tester: Debug requests

Color Pro Picker

Carnets - Jupyter
 PcMac 한국어