
Last Updated by Playr Inc on 2025-05-23
1. Last, click the translate button, and watch your Xcode project magically gain all the new strings in every language.
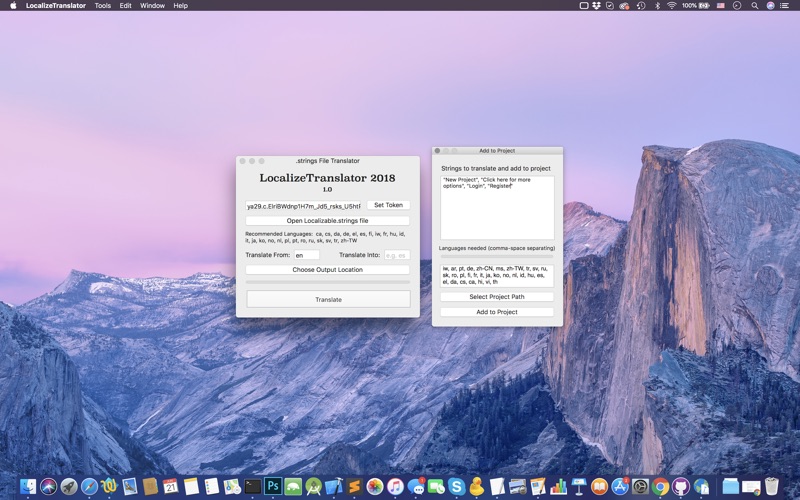
2. If you would like to add some new strings to your existing translations, all you need to do is select your Xcode project folder, and that folder should already contain some .lproj folders.
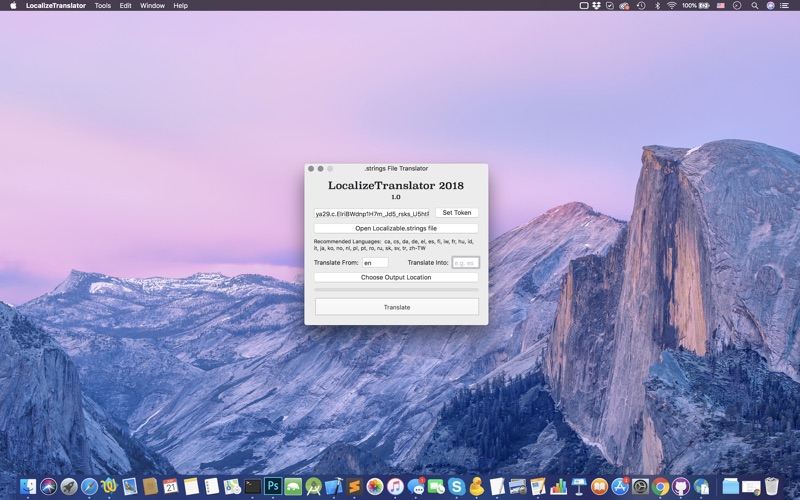
3. From the main window of LocalizeTranslator, you can take a Localizable.strings file that is in your language, and you can open it in LocalizeTranslator and convert it into any language.
4. First, select the “Localize and Add Strings to Project” from the Tools menu.
5. These files can then be dropped right into the Xcode lproj folders (appropriately named), or copied/pasted into the open files in Xcode.
6. Next, put in the language codes of the languages you would like to add the strings in.
7. After that, copy and paste your strings into the strings to translate text view.
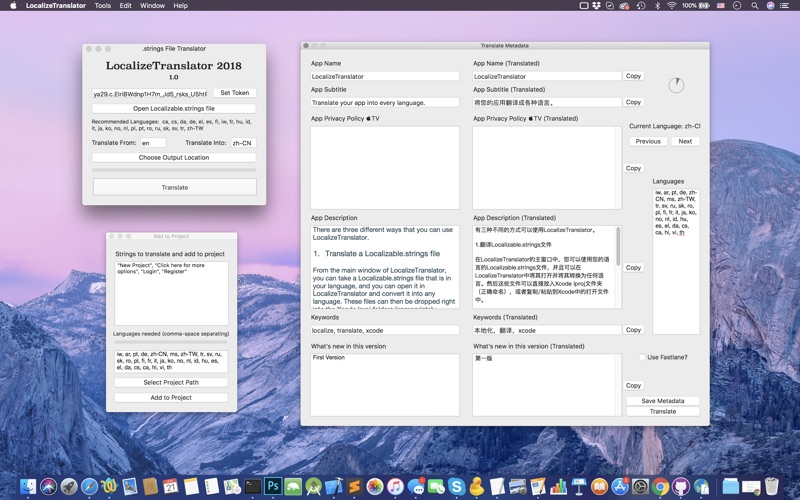
8. Select the “Localize Metadata” option from the Tools menu.
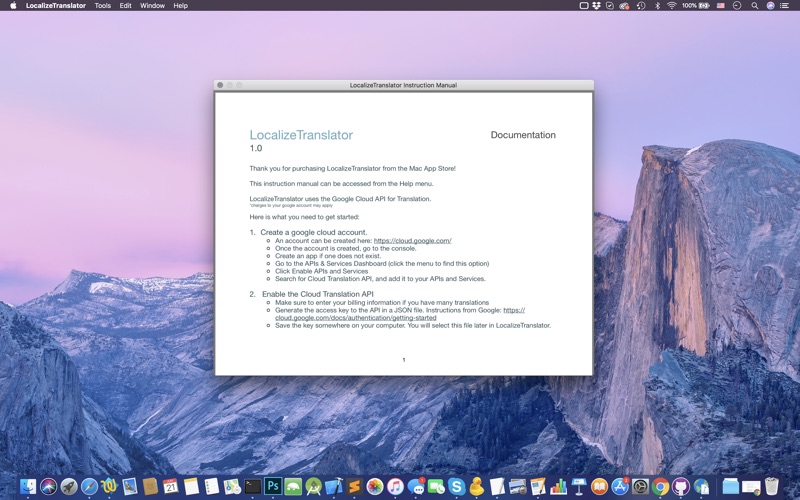
9. LocalizeTranslator Supports All API-supported Languages.
10. There are three different ways that you can use LocalizeTranslator.
11. Once it is entered, you can click “Save Metadata” so it is there on next app use.
12. Liked LocalizeTranslator 2018? here are 5 Developer Tools apps like GitHub; DManager!; Device Monitor²; O-KAM Pro; Python Editor App;
Or follow the guide below to use on PC:
Select Windows version:
Install LocalizeTranslator 2018 app on your Windows in 4 steps below:
Download a Compatible APK for PC
| Download | Developer | Rating | Current version |
|---|---|---|---|
| Get APK for PC → | Playr Inc | 1 | 1.0 |
Get LocalizeTranslator 2018 on Apple macOS
| Download | Developer | Reviews | Rating |
|---|---|---|---|
| Get $9.99 on Mac | Playr Inc | 0 | 1 |
Download on Android: Download Android
 PC Apps