Published by John Lennart Ahlinder on 2023-02-19
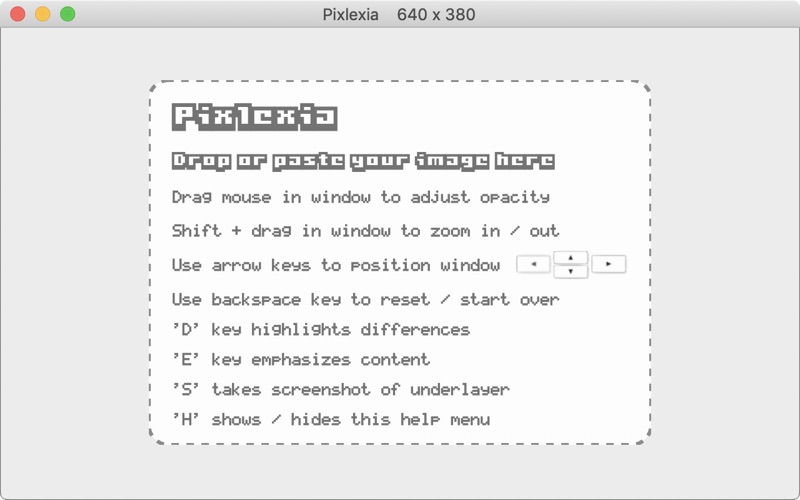
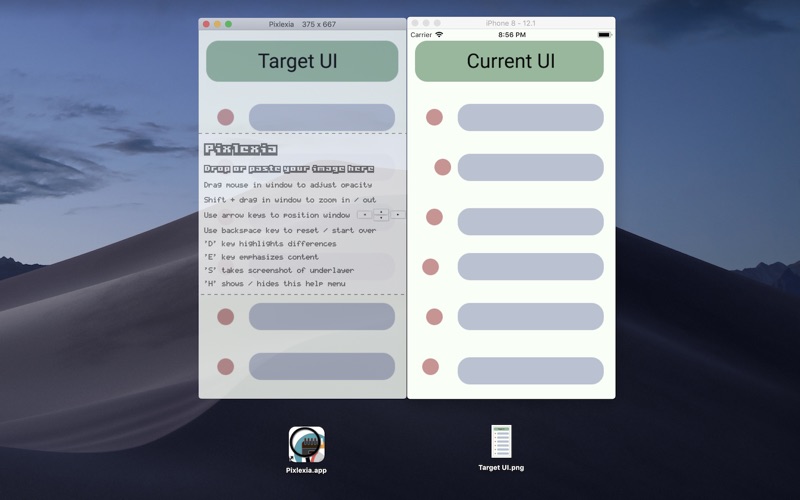
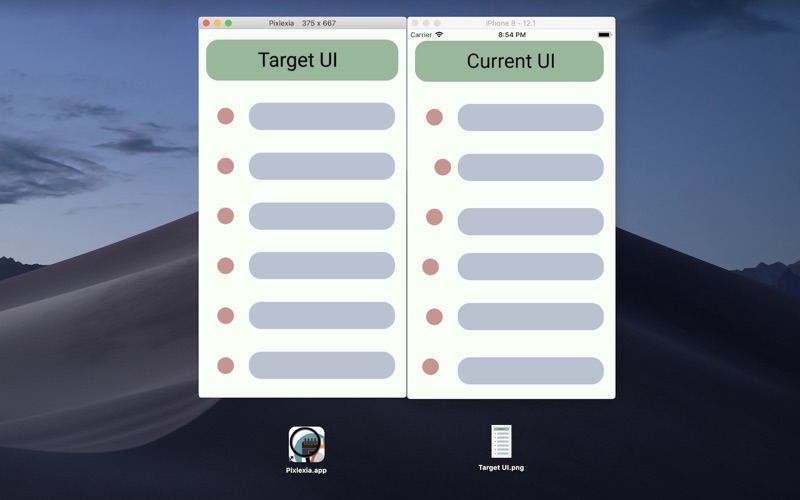
1. Overlay with adjustable opacity: put your Pixlexia window on top of what you want to compare against and simply drag in the window to adjust the opacity of your overlay.
2. Overlay with highlights: Put your Pixlexia window on top of what you want to compare against and simply hit the 'E' key to emphasise the content of your overlay.
3. Pixlexia makes it easy to take capture parts of what's on your screen and start bringing out differences.
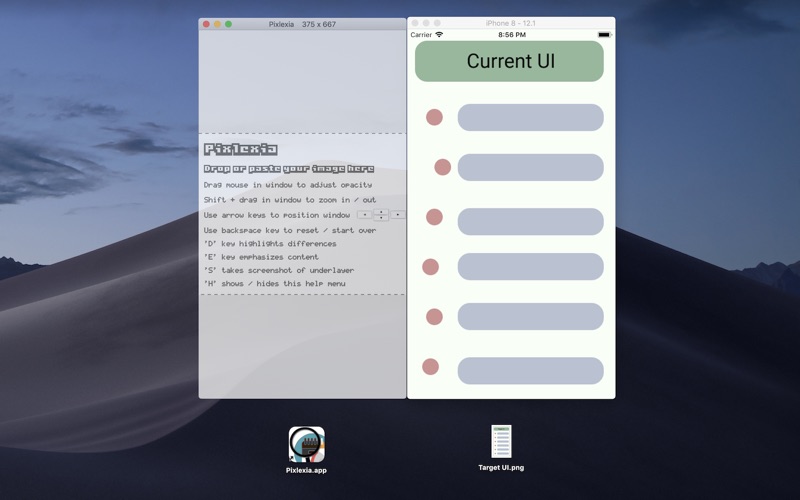
4. Drag and drop of imagery onto your Pixlexia window is of course also supported.
5. Pixlexia shows differences between two images by overlaying them on top of each other.
6. Pixlexia can then bring out differences, either automatically or by visual inspection.
7. You may then adjust the opacity to further bring out any differences.
8. Overlay with computed differences.
9. Put your Pixlexia window on top of what you want to compare against and simply hit the 'D' key to compute the actual pixel differences found between the overlay and whats beneath.
10. Any difference found will be shown.
11. Liked Pixlexia? here are 5 Graphics & Design apps like Canva: Design, Photo & Video; Adobe Express: Graphic Design; Themify - Widget & Icon Themes; Bazaart: Photo & Video Editor; Brass - Lock Screen Widget;
Or follow the guide below to use on PC:
Select Windows version:
Install Pixlexia app on your Windows in 4 steps below:
Download a Compatible APK for PC
| Download | Developer | Rating | Current version |
|---|---|---|---|
| Get APK for PC → | John Lennart Ahlinder | 1 | 1.0.1 |
Get Pixlexia on Apple macOS
| Download | Developer | Reviews | Rating |
|---|---|---|---|
| Get $1.99 on Mac | John Lennart Ahlinder | 0 | 1 |
Download on Android: Download Android
 PC Apps