
1. Important: if you don't see the “Xcode Source Editor” menu item under System Preferences -> Extensions, this is most likely due to a corrupt installation of the Xcode itself.
2. The app includes Xcode & Finder extensions and the Advanced Project Converter app best suited for gradual project migration.
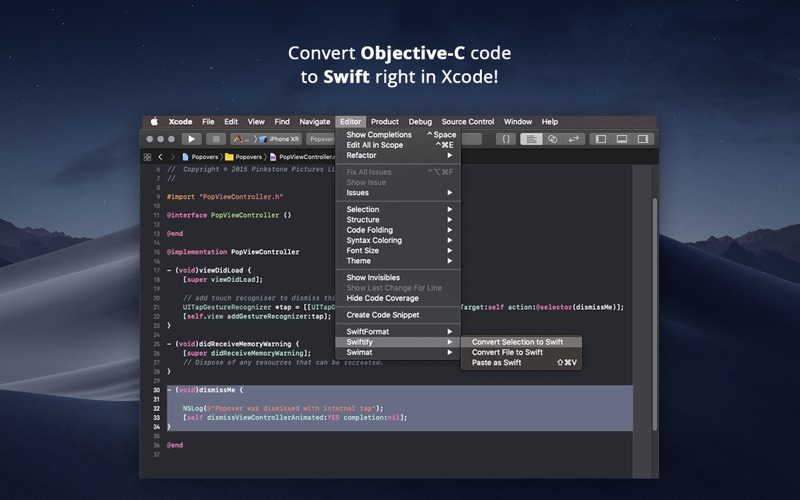
3. Swiftify for Xcode allows converting your Objective-C code to Swift 5.9 (or 5.8) right in Xcode.
4. If this happens, reinstall both Xcode and Swiftify from the AppStore.


または、以下のガイドに従ってPCで使用します :
PCのバージョンを選択してください:
ソフトウェアのインストール要件:
直接ダウンロードできます。以下からダウンロード:
これで、インストールしたエミュレータアプリケーションを開き、検索バーを探します。 一度それを見つけたら、 Swiftify for Xcode を検索バーに入力し、[検索]を押します。 クリック Swiftify for Xcodeアプリケーションアイコン。 のウィンドウ。 Swiftify for Xcode - Playストアまたはアプリストアのエミュレータアプリケーションにストアが表示されます。 Installボタンを押して、iPhoneまたはAndroidデバイスのように、アプリケーションのダウンロードが開始されます。 今私達はすべて終わった。
「すべてのアプリ」というアイコンが表示されます。
をクリックすると、インストールされているすべてのアプリケーションを含むページが表示されます。
あなたは アイコン。 それをクリックし、アプリケーションの使用を開始します。
ダウンロード Swiftify Mac OSの場合 (Apple)
| ダウンロード | 開発者 | レビュー | 評価 |
|---|---|---|---|
| Free Mac OSの場合 | Oleksii Petushchak | 0 | 1 |

Scriptable

Processing & p5.js iCompiler

GitHub

App Store Connect

写真サイズ変更(タテヨコ比率) -画像編集・プロフアイコン-

Apple Developer

Web Inspector

Stream

Python3IDE

Spectre VPN

Termius - SSH client

V2rayHub

Spck Editor

a-Shell

Koder Code Editor
 PcMac 日本語