Blur Create Custom Blur Effect for pc and mac

Blur Create Custom Blur Effect for Pc

Written by nedis


Get a Compatible APK for PC


Download Developer Rating Score Current version Adult Ranking
Check for APK → nedis 1 1 1.0.4 4+

App Screenshots


Software Features and Description

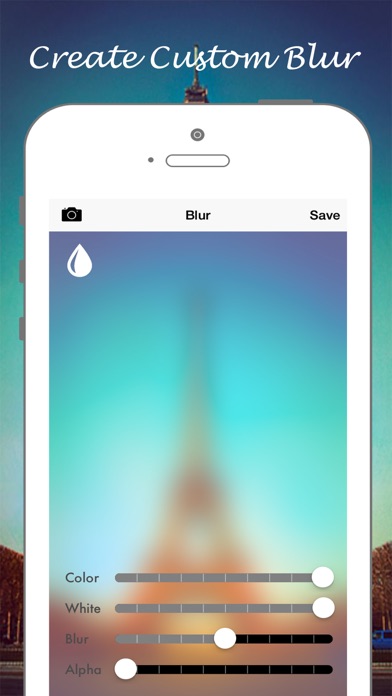
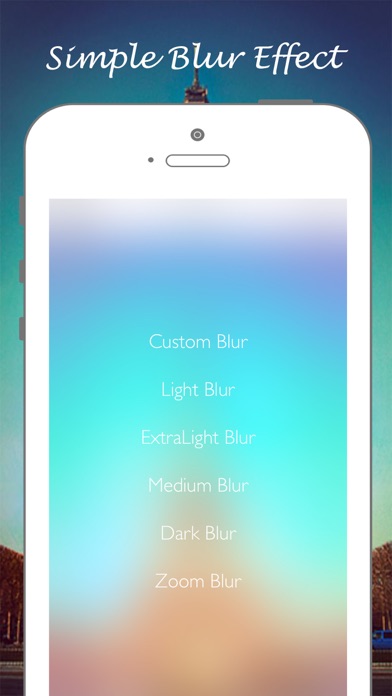
1. **Blur that transforms ordinary pictures into stunning backgrounds, just slide your finger across any picture to get the perfect Blur.

2. Liked Blur Create Custom Blur Effect? here are 5 Utilities apps like Emojily - Create Your Emoji; QR Create - QR Generator; StickMe - Create sticker maker; Amazing QR - FREE READ AND CREATE QR; I love you – create cute love cards and messages;


Download and install Blur Create Custom Blur Effect on your computer


Hurray! Seems an app like blur create custom blur effect is available for Windows! Download below:

SN App Download Review Maker
1 Blur Photo Background Maker Download 2.9/5
417 Reviews
2.9
Cidade
2 Blur Bokeh Background Download 3.7/5
219 Reviews
3.7
Videopix
3 Video Editor Music - No Crop Blur Background Download 3/5
135 Reviews
3
Express Apps

Not satisfied? Check for compatible PC Apps or Alternatives


App Download Rating Maker
pc app blur create custom blur effect Get App or Alternatives 1 Reviews
1
nedis
Or follow the guide below to use on PC:

Select Windows version:

  1. Windows 7-10
  2. Windows 11

Download and install the Blur Create Custom Blur Effect app on your Windows 10,8,7 or Mac in 4 simple steps below:


  1. Download an Android emulator for PC and Mac:
    Get either Bluestacks or the Nox App >> . We recommend Bluestacks because you can easily find solutions online if you run into problems while using it. Download Bluestacks Pc or Mac software Here >> .

  2. Install the emulator on your PC or Mac:
    On your computer, goto the Downloads folder » click to install Bluestacks.exe or Nox.exe » Accept the License Agreements » Follow the on-screen prompts to complete installation.

  3. Using Blur Create Custom Blur Effect on PC [Windows 7/ 8/8.1/ 10/ 11]:
    • Open the Emulator app you installed » goto its search bar and search "Blur Create Custom Blur Effect"
    • The search will reveal the Blur Create Custom Blur Effect app icon. Open, then click "Install".
    • Once Blur Create Custom Blur Effect is downloaded inside the emulator, locate/click the "All apps" icon to access a page containing all your installed applications including Blur Create Custom Blur Effect.
    • Now enjoy Blur Create Custom Blur Effect on PC.

  4. Using Blur Create Custom Blur Effect on Mac OS:
    Install Blur Create Custom Blur Effect on your Mac using the same steps for Windows OS above.


How to download and use Blur Create Custom Blur Effect App on Windows 11


To get Blur Create Custom Blur Effect on Windows 11, check if there's a native Blur Create Custom Blur Effect Windows app here » ». If none, follow the steps below:


  1. Download the Amazon-Appstore » (U.S only)
    • Click on "Get" to begin installation. It also automatically installs Windows Subsystem for Android.
    • After installation, Goto Windows Start Menu or Apps list » Open the Amazon Appstore » Login (with Amazon account)

  2. For non-U.S users, Download the OpenPC software »
    • Upon installation, open OpenPC app » goto Playstore on PC » click Configure_Download. This will auto-download Google Play Store on your Windows 11.

  3. Installing Blur Create Custom Blur Effect:
    • Login to your computer's PlayStore or Amazon AppStore.
    • Search for "Blur Create Custom Blur Effect" » Click "Install" to install Blur Create Custom Blur Effect
    • Blur Create Custom Blur Effect will now be available on your windows start-menu.

Minimum requirements Recommended
  • 8GB RAM
  • SSD Storage
  • Processor: Intel Core i3, AMD Ryzen 3000
  • Architecture: x64 or ARM64
  • 16GB RAM
  • HDD Storage

Blur Create Custom Blur Effect On iTunes


Download Developer Rating Score Current version Adult Ranking
$0.99 On iTunes nedis 1 1 1.0.4 4+

Download on Android: Download Android


Similar Utilities apps


More apps from the Developer